Digital Photography and Imaging | Task 1
Digital Photography and Imaging September 2023
This portfolio consists of:
Click on the link to jump to that part of the portfolio
Week 1
To begin my journey in design, I was introduced to digital
photography and imaging subject. In the first week of the class, Mr Martin
Chong gave us a warm welcome to attend this class, inviting us to the
profusing creative grounds. He conducted a small ice-breaking session in the
class to get to know us better and asked us about our own field of design
study that we were interested in. For me, it's quite surprising to see that many classmates wish to further research and study UI/UX design.
I also pay respect to the classmate who sits beside me (Mehran Ahmad) who is
ambitious to take on the animation specialisation.
Week 2 INTRODUCTION TO PHOTOSHOP
The second week into
the class, Mr Martin began to instruct us on how to use one of the powerful
tools that shapes the internet the way it is now, Adobe Photoshop.
Lasso Tool, Pen tool & Layering
-
Selection, Layering
Layer interface in Adobe Photoshop
-
Toolbox
All the tools available in Adobe Photoshop
-
Marquee Selection Tools - Select and Mask
Marquee tool, Pen tool, Lasso tool & Selection tool


Lasso Tool

Pen tool

Tutorial Exercises

Later into the class, I dragged the table I'd selected and masked into another photo of the interior space to blend into the surroundings.


Week 3
Lecture — Blending Mode
Screen blend mode


Multiply blend mode


Adjust the histogram value until the image merges with the photo.

Softlight blend mode


Tutorial Exercise

Week 4 RECOLORING BREAKDOWN
↑↑↑ Back to top ↑↑↑
Instruction
Me in Hearst Mansion, Photo Recolouring
↑↑↑ Back to top ↑↑↑
Work Process

Step 2: Go to the Shazam.jpg and begin to crop Shazam out


Step 5: Place the selection into the Hearst Mansion background and adjust its size according to the


|
| Shazam in Hearst Mansion |
Myself in Hearst Mansion

Step 2: Layer mask the selection to remove the background


Step 8: Add the shadow details on the body using the brush tool


|
| Ripple tool |
Step 14: Adjust the reflection colour towards a cooler colour (blueish) to match the colour of the pool water.


|
| Completion |
Exercise 3 Recolouring

|
| Selected Photo: Side portrait shot of a curly-haired man |


Step 8: Repeat the colouring process on the lips.


Work Comparison:


|
| Final work — 21/10/2023 |
"Challenge Accepted!"

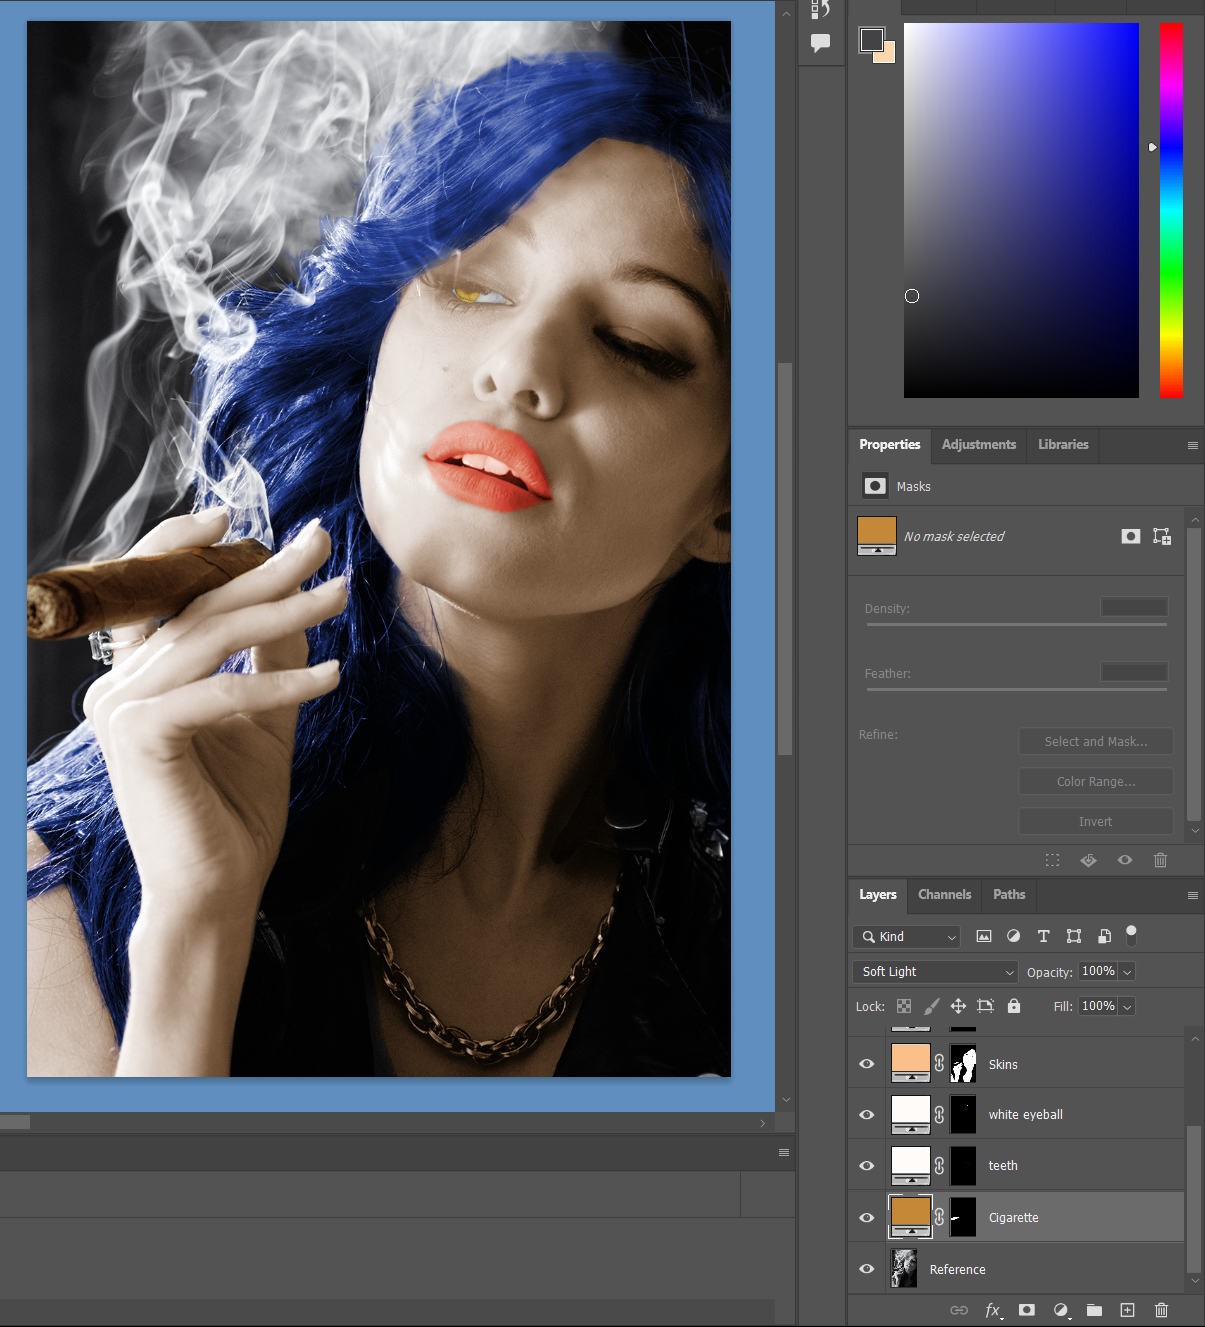
In the next step, I created a new solid colour layer for the hair.


I noticed that there were some imperfections in the hair layer mask, thus I proceeded to refine the selection again.

|
| Refine the mask selection |
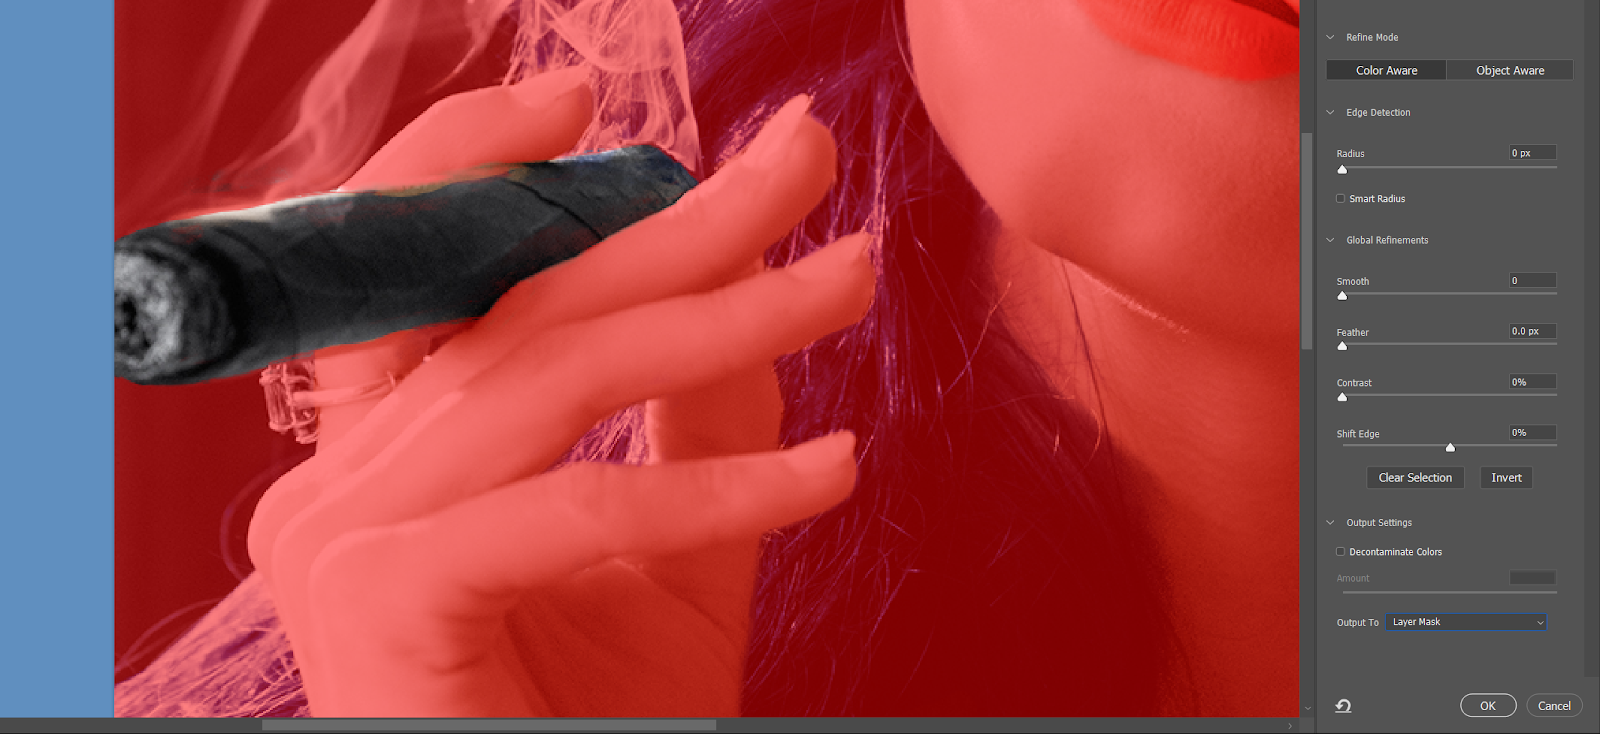
For the next step, I selected the face and the skin of the subject for recolouring.


|
| Lips selection for recolouring. |

|
| Eyeball selection for recolouring. |

|
| Teeth selection for recolouring. |

|
| Teeth layer soft light blend opacity 60% |
 |
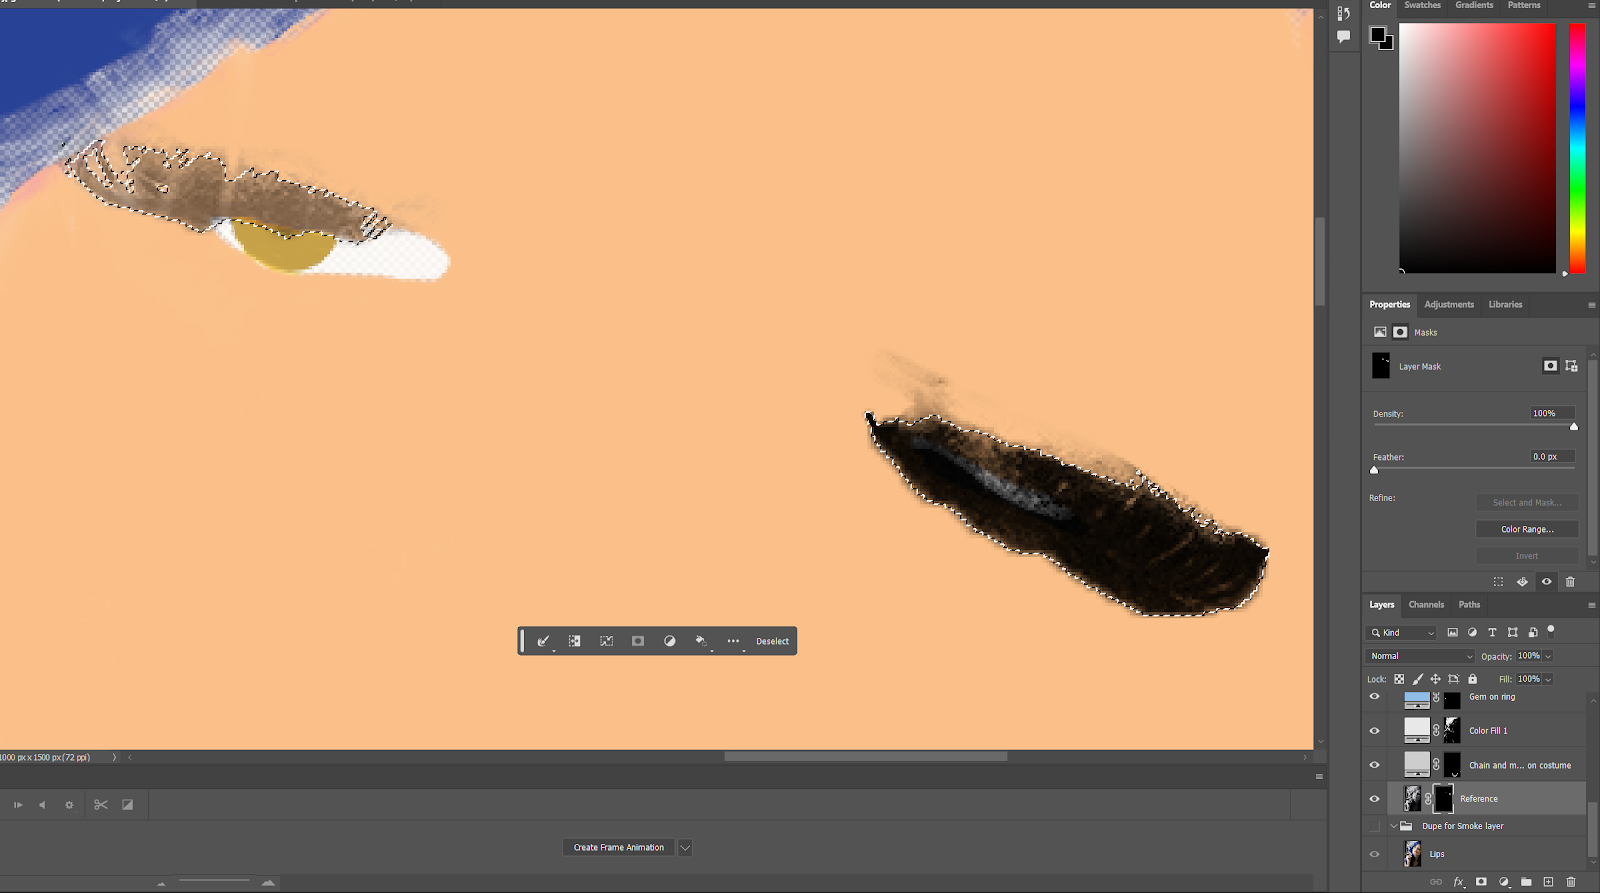
| Tobacco selection for recolouring. |
 |
| Tobacco selection for recolouring. |


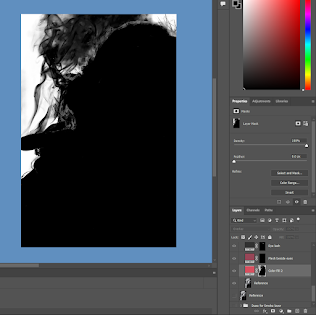
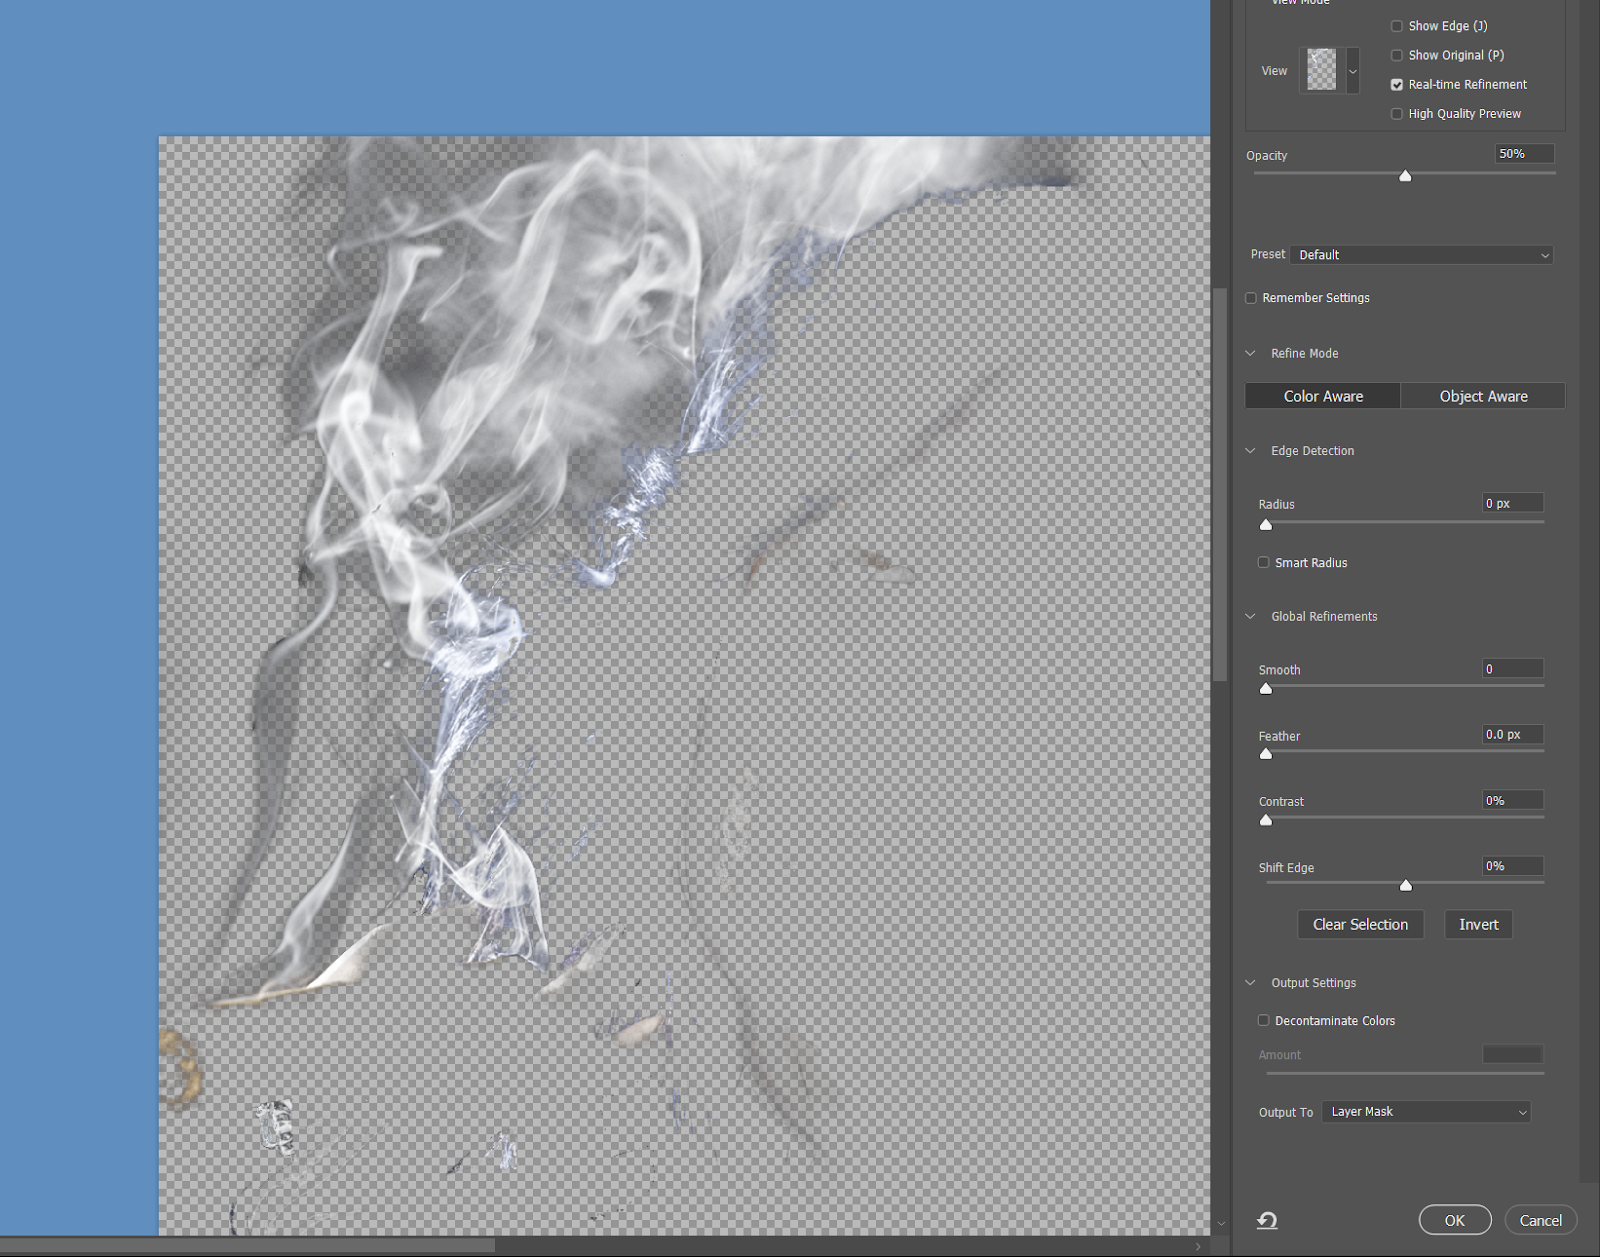 |
| Smoke selection |
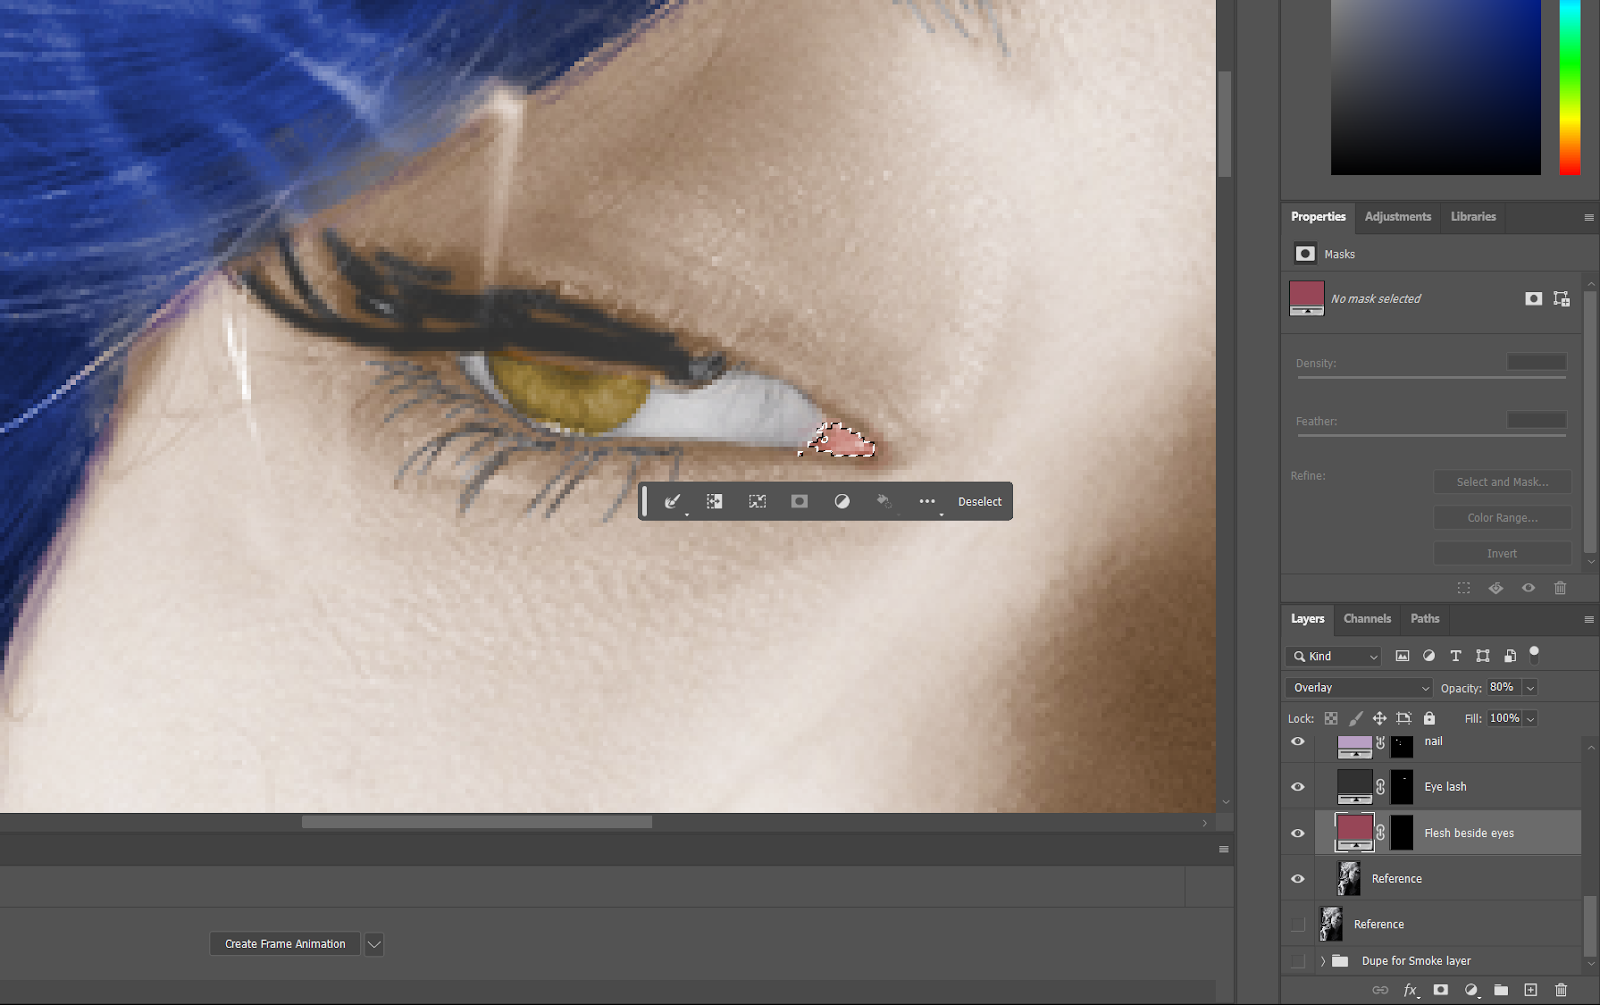
 |
| Adding base colour to the eyelashes |

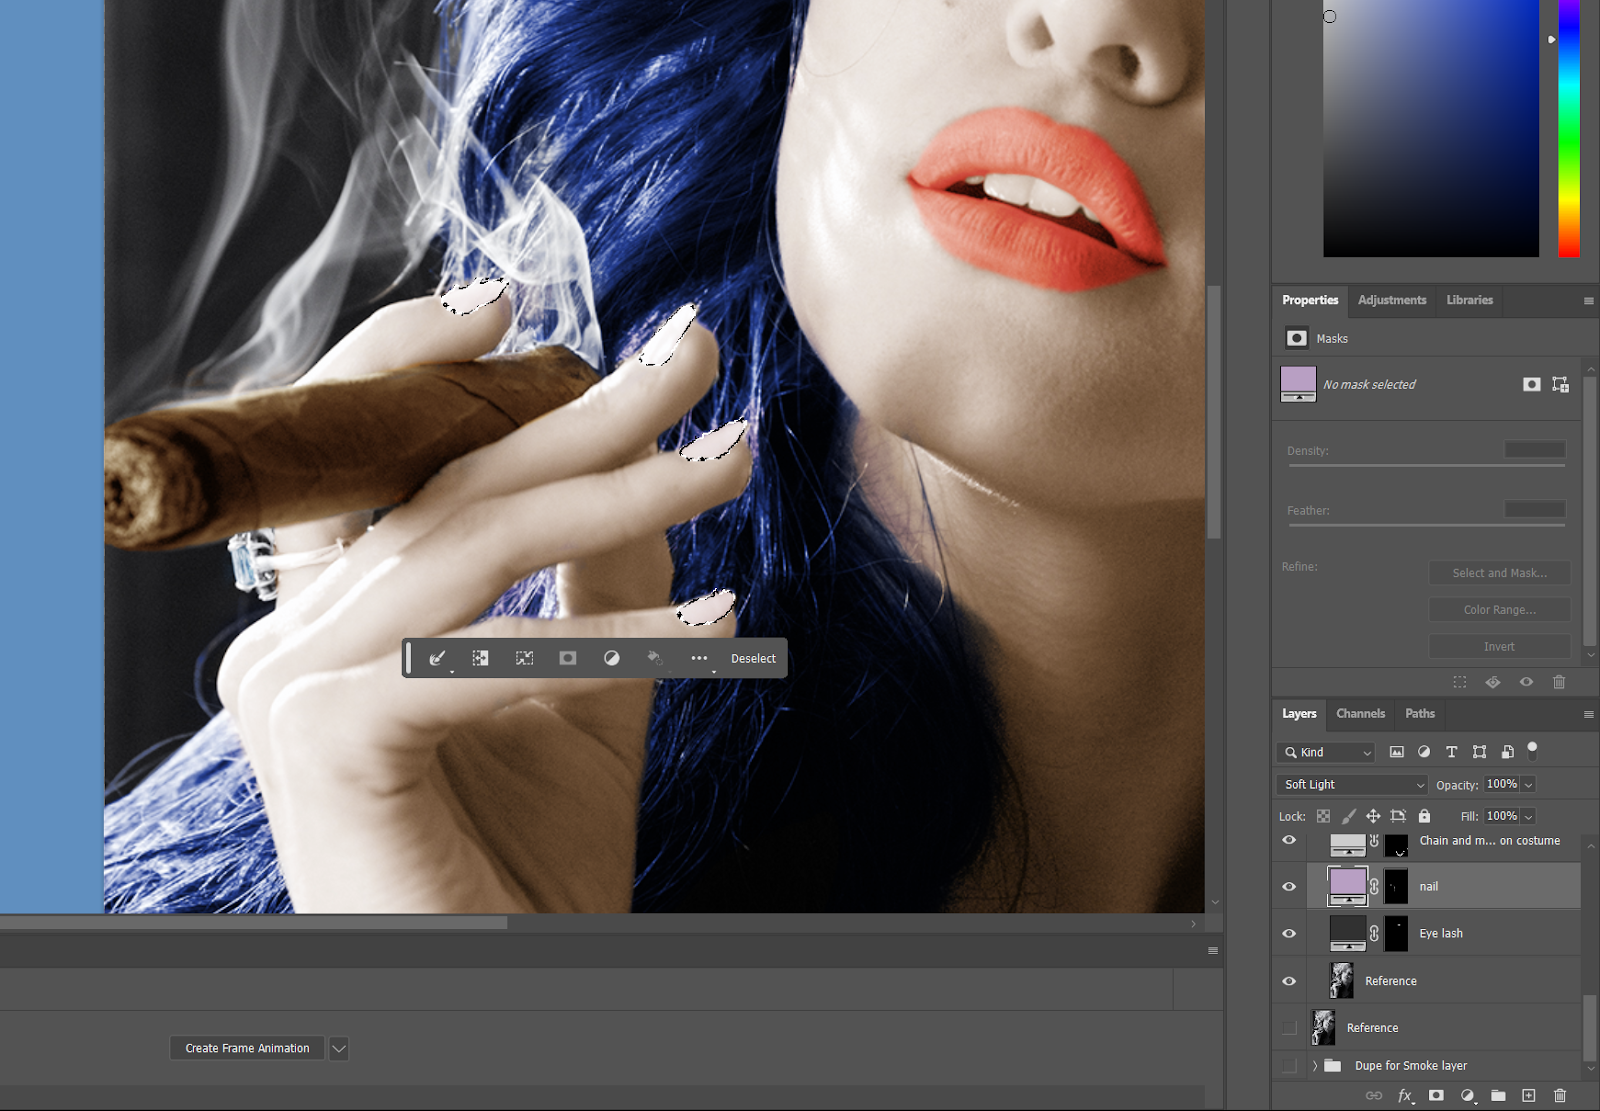 |
| Select nails for recolouring |
 |
| More details recolouring process. |


|
| Colour the background with the addition of a new solid colour layer |
 |
| Place the layer mask of the girl and invert it on the background colour layer |

|
| Finish! |
Work comparison:


Feedback
↑↑↑ Back to top ↑↑↑
Reflections
- Experience
In this first assignment of my first semester studying Adobe Photoshop, I can say that I have learned a lot of knowledge on how to use the tools inside the application to create effects and basic Photoshop skills. From making collages, editing myself into a picture, and later recolouring the black and white portrait photo, I believe I suited myself to this subject fairly easily not to mention that it's all with the step-by-step guidance of my lecturer, Mr Martin.
- Observations
In this first assignment that tests my Photoshop knowledge, I observed that the various tasks in this assignment all target how to make content with a story/theme and make it eye-believing for the viewers of fake edited images.
- Findings
Through this assignment, I found that photo editing is not only just copying and pasting an element into a picture, but we need to add more details and effects to support the realism of the edit to make it a successful work of art.


Comments
Post a Comment